Your Cart is Empty
FREE SHIPPING ON ALL ORDERS OVER $99!
So, you find yourself with raw oysters to shuck. Or maybe you’re looking forward to enjoying fresh oysters on the half shell at home with some cocktail sauce, but are unsure if you’ll be able to make this tasty treat for yourself, so you’ve come here to see how involved the process is.
Either way, we are here to guide you through the process of oyster shucking. While it can take some getting used to, it’s both achievable and totally worth the effort! Here’s the only guide you’ll need on shucking oysters at home.
Oyster shucking can be messy, frustrating, and dangerous without the right tools. We recommend having these three things on-hand before you start shucking:
It’s vital to clean your oysters well before shucking. Use a stiff-bristled brush to remove sand, dirt, and debris. You can also put your oysters into a cold icy saltwater bath to soak for an hour in order to purge them of sand and grit.
An oyster shucker – also known as an oyster knife – is the preferred tool to use when shucking oysters – especiallyif you’re newer to the task. But what is an oyster shucker? Simply put, it’s a tool that’s specially designed to provide the leverage and force required to pry open oyster shells – which can be notoriously tough to crack open sometimes.
Often designed with a rounded handle or grip handle, a sharp tip, and relatively blunt sides, oyster knives also often have a slightly sloped blade rather than a wholly flat one, which gives a little more “oomph” to the side-to-side prying motion involved in shucking. The blade is also usually shorter than even a paring knife, which also makes the job easier.
You can buy an oyster knife at any kitchen supply store at hardware stores (LIKE Home Depot and Ace Hardware), grocery stores (like Wholefoods), or retail stores (like Target and Walmart).
Our preferred oyster knife is the Dexter-Russell 2.75-Inch New Haven style oyster knife.

Can you shuck an oyster without an oyster knife? Yes. Should you? NO – we definitely do not recommend it.
As mentioned, oysters can be notoriously tough to open, and using alternate tools results in a much more painstaking experience and definitely increases the risk of stabbing injuries.
If you’re really desperate to open some oysters that you already have and getting your hands on a shucker is impossible, you can try the procedure we will outline below with:
Be sure that all of these tools are clean and sanitized before attempting to use them to open an oyster.
Alternatively if you plan to cookyour oysters instead of serving them on the half shell raw, you can use heat to open your oysters without shucking.
Find a kitchen towel you don’t mind getting dirty and fold it into thirds long ways. Next, grab it with your non-dominant hand to make a loop and cover your thumb. This will protect your hand from potential stabbing injuries. We would also recommend wearing protective gloves.
Oysters have a flat side and a concave (rounded) side. Before you begin shucking your oyster, you want to hold it flat side up. You also want to be sure that you place the oyster on the towel on top of a stable surface, such as a kitchen table or countertop.
The hinge of the oyster is where it comes to a point at one end of the flat side. To begin shucking, locate and insert the knife into the hinge slowly and firmly, wiggling side to side slightly while taking care not to apply toomuch pressure (if you do, you risk shattering the shell – especially if you’re dealing with a more delicate oyster).
Once the knife is firmly positioned in the hinge and the oyster is secure on a stable surface on top of your towel, you will want to apply pressure using leverage and rotate the knife away from you, so that it is vertical as opposed to horizontal, as if you are turning the throttle of a motorcycle. The oyster hinge should pop open slightly.
Once you’ve got step 3 down, you’ll want to clean your knife to remove any excess grit.
Position the knife so it’s parallel to the shells again (horizontally). Next, run the oyster knife along the side of the shell while prying and twisting the knife in order to separate the top and bottom shells where they’re joined at the sides. Lastly, you want to turn the blade of the knife upside down, so the curved side is facing up, and slide it into the oyster. Now scrape the top of the shell to detach it from the muscle in the oyster.
Pick up and hold the oyster in your non-dominant hand. Turn the blade upside down, so the curved side is facing up, and scrape along the top of the shell to separate it from the top abductor muscle. Take care not to spill any of the oyster juices, also called “oyster liquor”.
Carefully slide the knife along the bottom of the shell underneath the oyster meat to free it up. Lastly, flip the oyster meat over so the plump side is upright for serving. Using the tip of the knife, clean the oyster of any shell bits, grit, or dirt for a pristine presentation and eating experience.
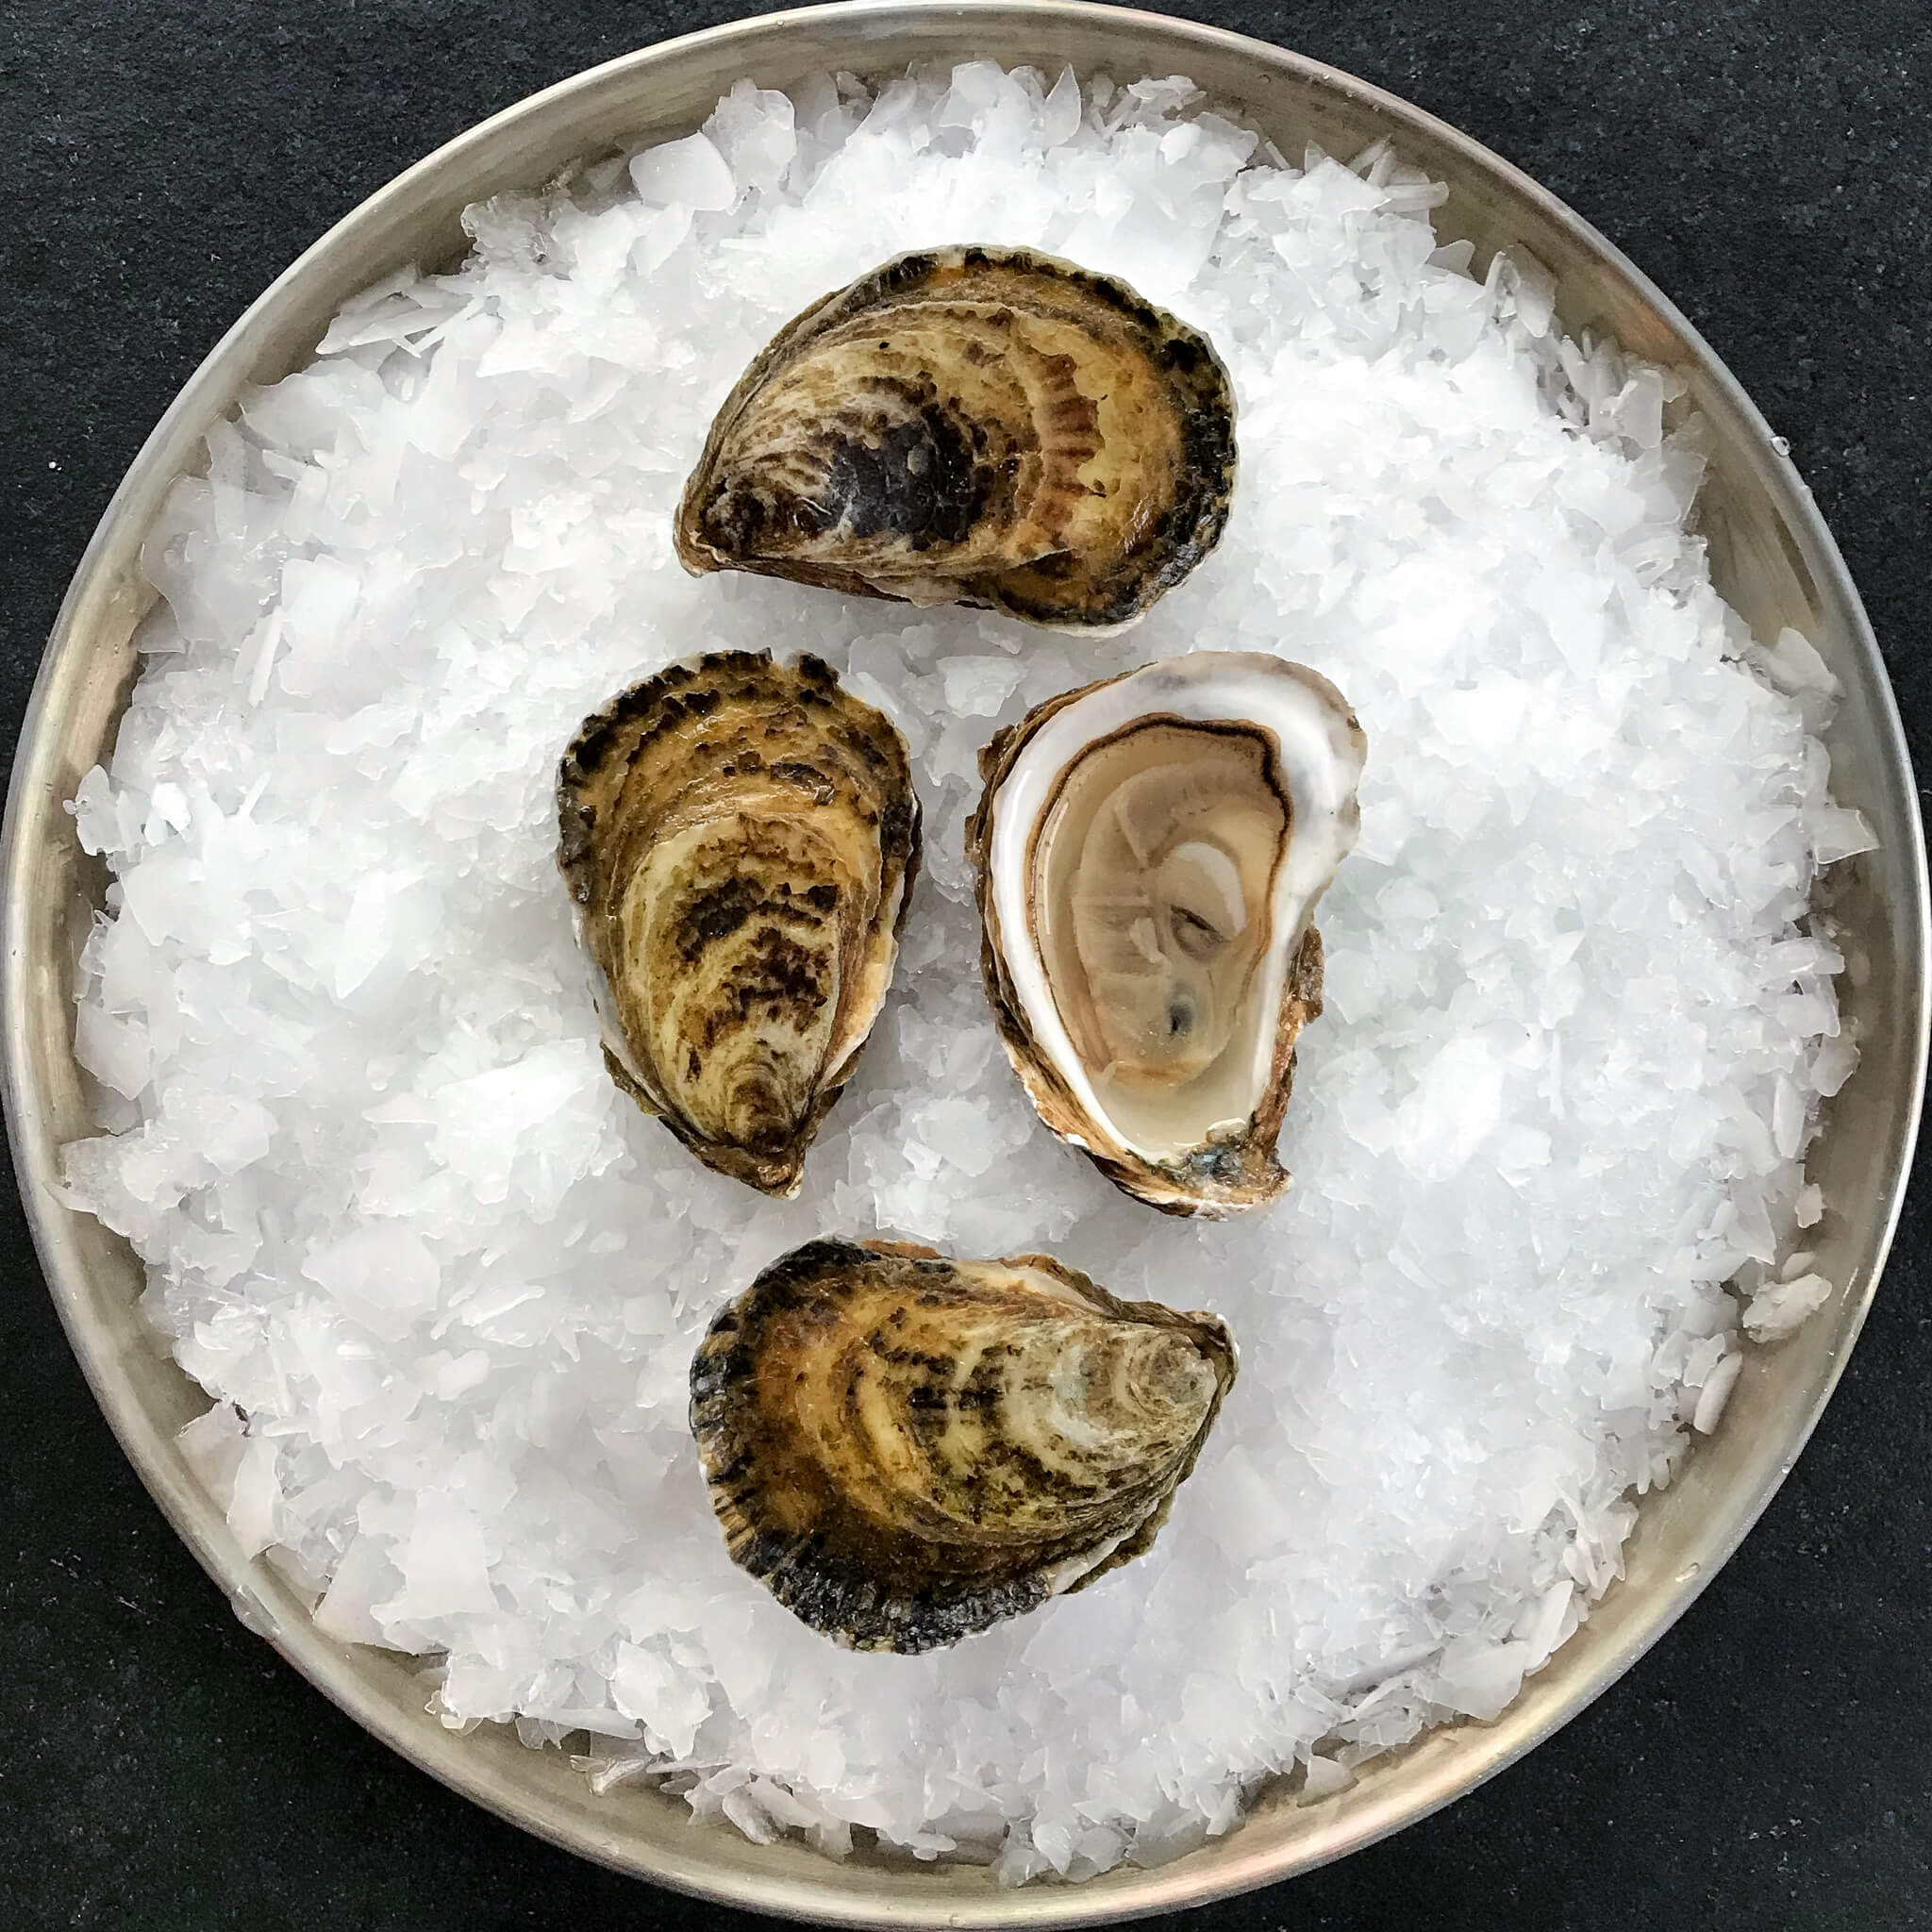
Repeat this seven-step process for all oysters you’re shucking. If making oysters on the half shell, serve on a bed of crushed ice, plain with no accompaniment, or with lemon wedges, mignonette, cocktail sauce, or hot sauce.